Thursday, January 12, 2012

Arts & Crafts Projects for Young Children-Crayon and Paint Resit

Crayon Magic
Provide paper and crayons. Remove paper from around the crayons. Demonstrate to the child how to color on paper with the side of the crayon.  The artist can use as many colors as they choose. Try coloring over the initial colors with more colors.
Use an object to scrape the top layer of crayon off. Encourage the child to draw shapes they like. Remind the artist to look for the colors underneath the top layer.


 Watercolor Resist
Provide brushes, watercolors, paper, stencils and crayons. Use crayons on paper to make designs. The designs can be made using stencils or free-hand. Paint over the entire surface of the paper, except the inside of the crayon designs.
Choose different colors than the background and paint inside the crayon designs, crossing over the crayon lines to blend colors. Observe what new colors are made.


Crayon Resist-Watercolor with salt
Items needed: watercolors, watercolor paper, sponges, salt and a white crayon. Draw shapes on the paper with a white crayon. Moisten paper on both sides with water, also moisten watercolors. Load damp sponge with watercolor and dab on the paper. Sprinkle salt over the wet watercolor. Dry flat. When dry, rub the salt off.


Tempera-Glue Resist
Items needed: tempera and non-toxic white glue. Run a thin stream of glue on a piece of paper, making designs. Let dry. Paint tempera both in-between the dried glue and outside of it.


Watercolor-Glue Resist
Items needed: watercolor and non-toxic white glue. Run a thin stream of glue on a piece of paper, making designs. Let dry. Paint watercolor both in-between the dried glue and outside of it.


Monday, January 9, 2012

My blog is back!

Whew! My computer is back from the shop. I know it has been a while since my last posting.

My next art blog will be resist painting for young children. I hope to have it ready to be posted this week. If you have any questions or comments, let me know!

Monday, November 21, 2011

Ten Little Puppies/Diez Perritos


Author: Alma Flor Ada & F. Isabel Campoy. English version by Rosalma Zubizarreta. Illustrated by Ulises Wensell. 2011.

Children count along in English and Spanish as ten little puppies disappear. Each page is filled with beautiful illustrations and lively translations from Spanish to English in this classic nursery rhyme. The back of the book contains the song, Diez Perritos/Ten Little Puppies. More information is given about the puppy breeds that are shown in the story.

I highly recommend this book for an enjoyable story time experience. This fast paced story is a delight even for the youngest children!
Recommended teaching tools: ten stuffed toy dogs, or felt puppies on a storyboard, each one removed from view as the puppies disappear from the story; puppy cutouts pasted on paper; ten puppy finger puppets, etc.

Sunday, October 2, 2011

Arts & Crafts Projects for Young Children-Collage

A collage is a form of art in which materials are glued to a backing. The word collage originates from the French verb coller, to glue.

Many materials can be used such as paper products including newspaper and magazine cutouts, wallpaper, etc. Other materials such as, fabric, ribbon, lace and items from nature such as, leaves, plants, etc. can be used.

Listed below are four collage activities for small children.

Have children decide what colors, shapes and textures they want to use.

Future blogs will include resist, printmaking, texture rubbing, masks and weaving projects.

I do ask that these projects be used for personal use only and not for profit.
 3-D Junk Collage
Discuss with the artist materials to be used. Collect paper or cardboard, white non-toxic glue, magazine cutouts, fabric of various textures, lace, buttons, leaves, tissue paper, etc. Encourage children to explore different materials to make their creation.


Nature Collage
Encourage children to collect dry leaves, twigs and other items. Dried coffee grounds can be used for texture. Crumble and break apart items if desired. Draw a tree or other outdoor scene using color/watercolor pencils. Brush white non-toxic glue where leaves and other natural items are to be placed. Dry flat.


 Montage
A montage is a collage with a theme. Provide a wide variety of materials such as: construction paper, magazines, newspapers, fabric, crayons, markers, beads, etc. Several layers of material can be placed on the collage.


Texture Collage
Materials needed are heavy paper, non-toxic white glue and a brush. An endless variety of materials can be used for the textures such as: sand, leaves, dried coffee grounds, fabric, ground nut shells, etc.  Brush glue on a piece of paper and place items on top of the glue. Shapes can be traced from cookie cutters, etc. and glue spread inside the shape, if desired. Dry flat.


Stained Glass Collage
The following materials are needed: tissue paper, wax paper, non-toxic white glue, a large brush and construction paper. Dilute white glue by one-half with water; mix. Spread the mixed glue on wax paper,  in small sections at a time. The glue will bead in some spots on the wax paper; this is okay.
Tear out pieces of tissue paper and place on top of the glue. Try to overlap the tissue paper. Let dry.

Cut strips of construction paper approximately three-fourths inches wide (2 cm).
Discuss with the child what geometric shapes they would like to make such as, triangles, squares, etc. Glue the strips of paper to the stained glass and cut out. Punch a hole into the construction paper and insert a piece of yarn or string. Hang near a window and look at the beautiful colors!


Tuesday, September 13, 2011

Arts & Crafts Projects for Young Children-Drawing

My last blog contained nine projects for painting. Please pass them on!

Listed below are four drawing projects for small children. I hope you will find these activities both educational and fun!

Let children be creative and let them decide what colors, shapes and textures they want to use.

Future blogs will include collage, resist, printmaking, texture rubbing, masks and weaving projects.

I do ask that these projects be used for personal use only and not for profit.


Drawing Over Tempera
Cover the entire surface of a piece of paper, or as much as a child desires, with tempera paint. Let dry. Provide crayons and color pencils to draw over the dry paint.


Melted Crayon Drawing
Provide crayons and construction paper. Warm a hot plate, such as a griddle, on low setting. Place the paper on the hot plate. Each child can draw with crayons and observe the results as the crayon melts. Bits of crayon can also be sprinkled over the paper. This project should only be done under close adult supervision.


Pointillism
Items needed are paper and pointed markers. Show the child how to lightly drop markers on paper making a point. Demonstrate a shape done in pointillism. Research artists that have used this method of painting. Be creative!


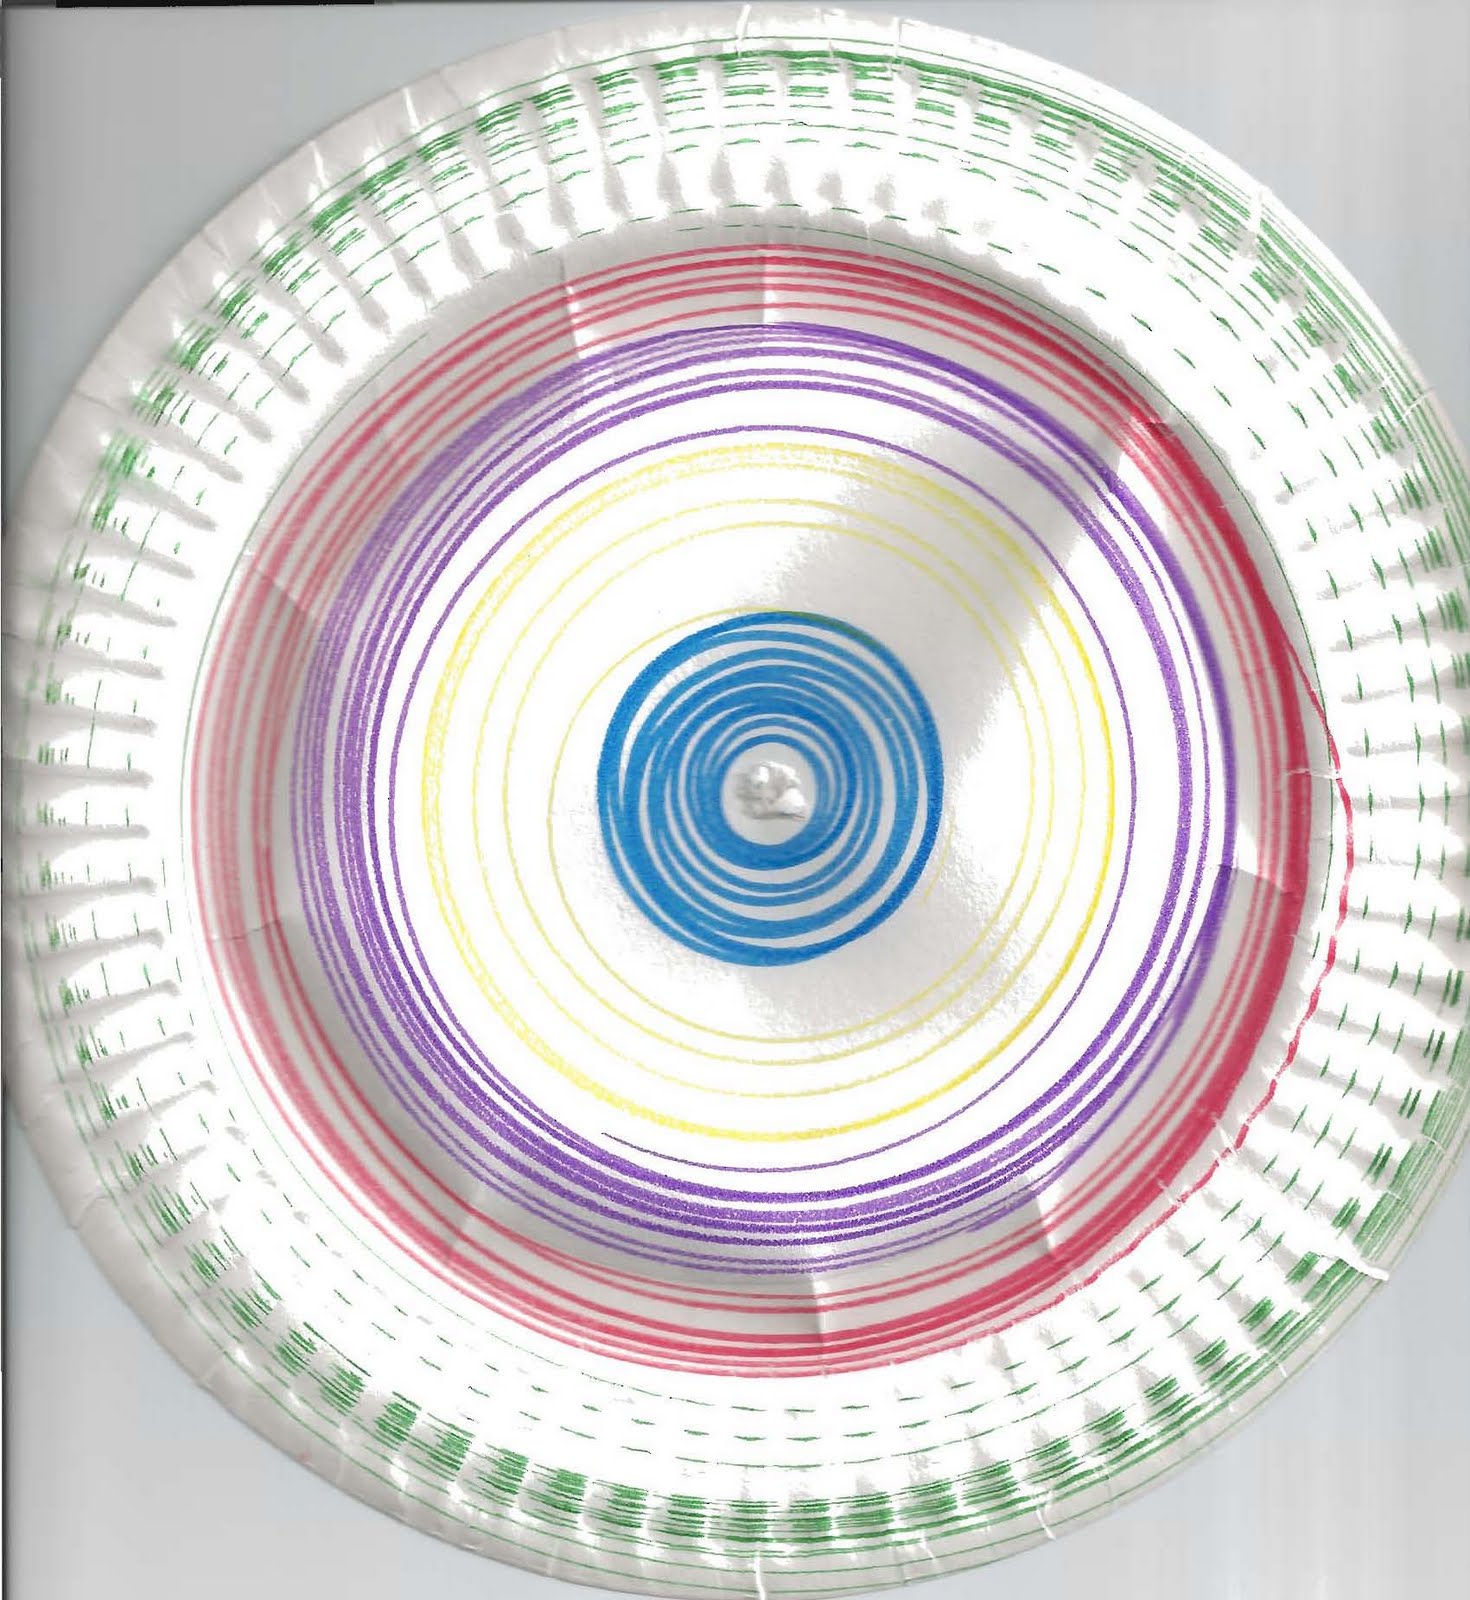
 Record Player Art
Items needed are paper plates and markers. Punch a hole in the middle of the plate. Place the paper plate on a record player turntable. Turn on the record player and have the artist hold markers as the turntable spins. Have fun!


Wednesday, August 24, 2011

Art & Crafts Projects for Young Children-Painting

I enjoy developing arts and crafts projects to include in story time activities. One semester, I attended a Creative Materials class at my local community college. This class was designed to develop art and craft activities for preschool, kindergarten and first grade students.

Listed below are nine simple painting projects. I hope you will find these activities useful and fun! Future blogs will include drawing, collage, resist, printmaking, texture rubbing, masks and weaving projects.

I do ask that these projects be used for personal use only and not for profit.


Blotto Painting
Provide tempera paint and construction paper. Fold the paper in half and open. Paint designs using one or more colors on one side of the paper. Fold the blank side of the paper over onto the painted side. Press the paper well with hands, then open and let dry. Notice the interesting textures made in the paint.


Coffee Filter Painting-Food Coloring
First, wet the coffee filter for varying results. Squeeze drops of food coloring from a height of about six inches or so onto the filter paper. Notice how the colors spread on the paper and mix with other colors. Use as many colors as desired.


 Coffee Filter Painting-Tempera Paint
First, wet the coffee filter. Fold the coffee filter like an accordion and and hold closed. Place paint either with a brush or fingers on the sides and edges of the filter. Open the filter to see how the colors have moved along the paper. Dry flat.


Marble Painting
Place a piece of construction paper in a shallow box. Pour a small amount of tempera paint in a pie tin. Each pie tin should have one color. Place marbles in the tins. Swirl the marbles around in the paint. Place the paint coated marbles in the box with the construction paper and move the box in a rotating motion.


Splatter Painting
Place a piece of construction paper on a flat surface. Load a toothbrush or other type of brush with watercolor or tempera paint. The paint can be shaken from the brush or a finger can be run over a toothbrush for a desired effect.


String Painting
Gather pieces of yarn, tempera paint and construction paper. Place the yarn in paint to coat the entire strand. Fold the paper in half and open. Place yarn coated with paint on one-half of the paper. Make a design. Fold the top half of the paper over the string and lower half of the paper. Allow a small piece of the string to stick out on the side. Gently lay your hand over the folded paper then pull the string out. Look at the beautiful design!


Watercolor-dry
Assemble watercolors, brushes, sponges and dry watercolor paper. Lightly moisten watercolors. Dab sponges in the paints and onto the dry watercolor paper. A toothbrush can be used for a splatter effect. Use small brushes to add details.


Watercolor-wet on wet
Items needed are watercolor paper, watercolors; a spray bottle is optional. Spray the watercolor paper with water or hold the paper under a running faucet. Place the paper on a flat surface. Dip the watercolor brush in water and then onto a pre-moistened watercolor. Paint with short or long strokes and observe the effects. Let dry flat or hang the paper if a drip effect is desired.


 Watercolor- wet on wet with salt
Items needed are watercolor paper, watercolors; a spray bottle is optional. Spray the watercolor paper with water or hold the paper under a running faucet. Place the paper on a flat surface. Dip the watercolor brush in water and then onto a pre-moistened watercolor. Paint with short or long strokes and observe the effects. Sprinkle salt over areas of the paint where the desired effect is needed. Let dry flat. Rub off the salt when dry.


Wednesday, August 10, 2011

Free webinar with editor and author Deborah Halverson

July 27, 2011
Katie Davis, moderator

Editor and now YA fiction writer Deborah Halverson was the guest for this webinar.

Katie: What do editors mean when they say a manuscript is flat? Deborah: A flat manuscript means the story is predictable. There are no surprises and the characters lack depth.

Deborah offered the following tips to create a story that is well crafted.


Rich subtext is needed in the story; a layering to set-up readers for a surprise.

Ditch a prolonged story set-up. Get to the main story quickly.

Engage the five senses. A manuscript must have dynamic revealing moments. It is important that characters battle elements in their growth. Readers also need to experience this growth.

Enrich the characterization:

Readers need to be shown how the characters handle their problems.
The flawed character struggles in the story to overcome obstacles and is better in the end.
The protagonist's goal is worth the time of the story.

Deborah Halverson's blog: http://www.deborahhalverson.com/blog/

Katie Davis' blog: http://katiedavis.com/blog/welcome/